Fitness Equipment Manufacturers & Wholesale


Stop Ignoring Your Ankles: The Treadmill Runner’s Guide to Injury-Proof Stability
Don’t let the pursuit of a PB turn your ankle into your weakest link. We dive into protection techniques and expert shoe selection for the ‘silent workhorse’ of running.
Last week, during my regular morning run, I watched a fellow runner go down hard—not on the trails, but just stepping off the track onto a pile of wet leaves. The way they doubled over, clutching their ankle, was a stark reminder of a statistic that haunts our industry: according to a 2024 Chinese fitness industry report, 37.2% of all sports injuries involve the ankle joint.
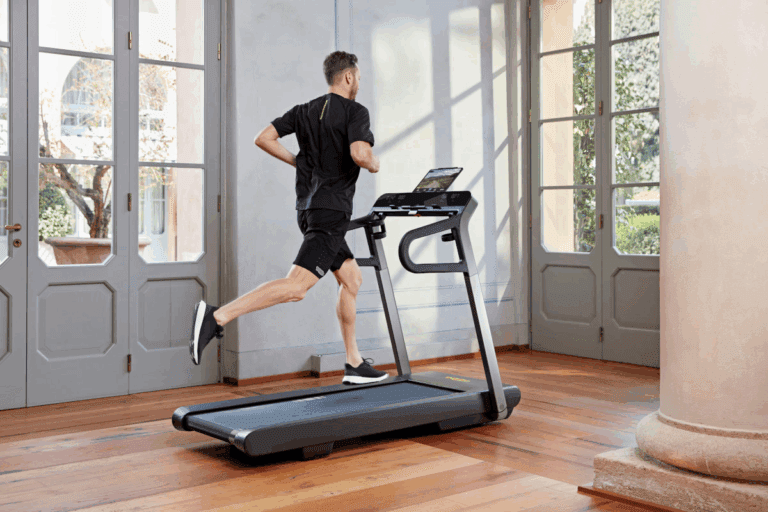
As a treadmill manufacturer, we engineer our decks for optimal shock absorption and stability. But what about the user’s mechanics? Are we, in our quest for personal bests (PBs), neglecting the “silent workhorse”—our ankles?
The Great Debate: Shoes vs. Muscle—Finding the Balance
When I first got into high-intensity training, I bought into the “armor effect” of high-top shoes. I thought they were the ultimate shield. However, a professor at the Beijing Sport University presented a fascinating finding at a recent fitness management forum:
“Experimental data shows that wearing high-top shoes for sudden stops and changes in direction delayed the activation of the peroneal muscle group by 0.2 seconds.“
That 0.2-second lag is the margin of error that costs your ankle its “dynamic safety net” during a sudden landing or misstep.
This doesn’t mean high-tops are inherently bad—it means “Choose the shoe for the sport.” For the controlled, linear motion of a treadmill or road running, the focus shifts:
| Activity Type | Ankle Protection Focus | Key Shoe Specification |
| Treadmill/Road Running | Propulsion & Stress Reduction | Forefoot rocker angle $\ge 10^\circ$ (like some carbon-plated shoes) |
| Cross-Training | Lateral Stability | Midsole torsional rigidity between $50-70 \, \text{N}\cdot\text{m}/\text{rad}$ |
| Court Sports | Impact & Stopping Power | Mid-cut design with heel cup stiffness $> 45 \, \text{HA}$ |
For running, especially on a treadmill, we want a shoe that supports the natural gait cycle without excessively restricting dynamic muscle function.
🛡️ The 3 Pitfalls of Over-Reliance on Ankle Braces
I once saw a disturbing demonstration by my coach: a runner performed a deep squat while wearing a common, bulky ankle brace. The pressure sensor showed that the force exerted on the lateral (outer) side of the ankle actually increased by 15%. This is a classic case of a supposed aid becoming a hindrance.
The correct way to view ankle supports is as a temporary tool, not a permanent solution:
- Acute Phase (Post-Injury): Use Rigid Braces that restrict joint movement by over 50%. This is for immobilization.
- Recovery Phase: Switch to Elastic Supports that provide about 30% auxiliary support, allowing controlled movement.
- Daily Training: Opt for Kinesiology Tape with a longitudinal stretch tension of $10-15\%$. It’s designed to facilitate muscle function, not replace it.
A word of caution: Clinical data shows that the “viral compression socks” that dominate online sales often provide less than 3% improvement in actual ankle joint stability. Always look for products with certified medical device credentials.
🔩 The Secret to Building ‘Steel Ankles’
Muscle is the ultimate protective gear. A Harvard Medical School study confirms this: For every $1 \, \text{cm}^2$ increase in the cross-sectional area of the Peroneus Longus muscle, the risk of ankle inversion decreases by 7%.
When rehabilitating an endurance runner recently, we established a program I call the “3 $\times$ 20 Protocol,” focusing on proprioception (body awareness) and dynamic strength:
| Time of Day | Exercise Focus | Protocol |
| Morning | Proprioception | Barefoot Single-Leg Balance (3 sets $\times$ 20 seconds) |
| Afternoon | Strength & Range | Resistance Band Dorsiflexion (3 sets $\times$ 20 repetitions) |
| Evening | Eccentric Control | Step Eccentric Drop (3 sets from $20 \, \text{cm}$ height) |
This routine boosted the runner’s ankle proprioception index from 68 to 92 in three months. Building this intrinsic strength is the best insurance policy you can buy for your joints, especially when running consistent miles on the treadmill.
🧠 The Wisdom of a Smart Comeback
My biggest lesson after my first ankle sprain was rushing back to training. Now, I adhere strictly to the “Three-Phase Rehabilitation Method”:
- Acute Phase (First 48 Hours): Follow the POLICE principle (Protection, Optimal Loading, Ice, Compression, Elevation).
- Sub-Acute Phase: Introduce Closed-Chain Exercises (where the foot is fixed, like squats or step-ups).
- Functional Recovery: Gradually introduce jumping and cutting movements.
The American College of Sports Medicine suggests that you can safely return to regular running once you can perform 30 single-leg calf raises per set.
Pro-Tip from a Physio: A friend in sports rehabilitation shared a trick: performing “ankle pumps” (flexing and pointing your foot) in warm water (32–35$^\circ$C) can boost joint range of motion by 40%. It’s a game-changer for easing into post-injury movement.
A Final Detail: The Surgeon’s Knot
Next time you lace up for your treadmill session, try the “Surgeon’s Knot.” This technique, adapted from orthopedic surgery, can increase the fit and security of the shoe upper by a reported 28%.
The battle against running injuries is won and lost in these tiny, often-overlooked details. Protect your ankles, strengthen your foundation, and keep chasing those PBs safely.